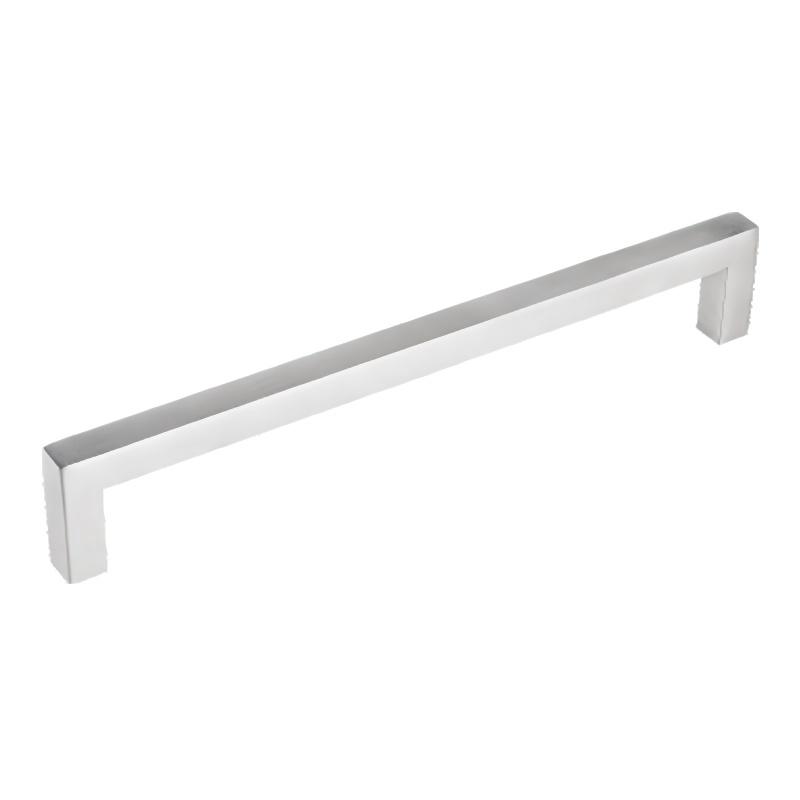
How To Install Cabinet Handles?
Installing Cabinet Handles may seem simple, but precise alignment, correct drilling, and secure fitting make a major difference in appearance and durability. Whether for kitchens, bathrooms, or office furniture, this guide provides professional, step-by-step instructions and solutions for common installation issues.

Table of Contents
Tools and Materials
Prepare the following before you begin:
| Tool / Material | Function |
|---|---|
| Measuring tape, ruler | Accurate spacing and alignment |
| Masking tape & pencil | Protect and mark surface |
| Drill & bits (3 mm pilot, 5 mm final) | Clean holes for M4 screws |
| Jig or template | Consistent spacing across units |
| Screwdriver | Secure screws precisely |
| Backer board | Prevents tear-out inside |
| Screws (M4) & washers | Fix handles firmly |
| Cloth & detergent | Final cleaning |
Step 1: Plan Handle Placement
Cabinet Doors
Install handles 50–75 mm from the opening edge and the same distance from the top or bottom.
Place them vertically on door edges opposite the hinges.
Drawers
Center handles horizontally.
On tall drawers, position slightly above the middle for easier reach.
For wide drawers, install two handles spaced evenly at one-third and two-thirds of the width.
Mark the drilling area using masking tape for easy correction.
Step 2: Mark and Measure Accurately
Apply masking tape on the cabinet surface.
Draw centerlines using a ruler or square.
Use a template or jig to mark hole spacing (64, 96, 128, or 160 mm are common).
Double-check all marks before drilling — small errors can be visually noticeable.
Step 3: Drill Clean Holes
Start with a 3 mm pilot hole, then expand to 5 mm.
Keep the drill at a 90° angle to avoid angled holes.
Place a wooden backer board behind the panel to prevent splintering.
Deburr both sides of the hole gently.
For laminated or painted surfaces, drill slowly to avoid chipping.
Step 4: Install Handles
Insert M4 screws from inside the cabinet.
Hold the handle steady and tighten gradually (1–2 N·m torque).
For thin panels (<16 mm="">washers for better grip.
Check each handle for stability before final tightening.
Step 5: Align and Adjust
Use a small level to ensure perfect horizontal or vertical alignment.
Check from a distance to confirm visual symmetry across all doors and drawers.
Loosen and adjust slightly if misaligned before final tightening.
Step 6: Clean and Finish
After installation:
Remove masking tape and wipe dust away.
Clean handles with mild detergent and a soft cloth.
Avoid alcohol or abrasive cleaners that damage finish.
For stainless steel, apply a thin anti-corrosion film or wax.
Common Mistakes and Fixes
1. Uneven Handle Alignment
Cause: Wrong measurements or drilling angle.
Fix: Use a jig for consistency; enlarge holes slightly with a reamer if misaligned; fill old holes with wood filler and repaint if necessary.
2. Tear-Out or Chipped Surfaces
Cause: No backer board during drilling.
Fix: Always drill with support; if chipped, fill with wax repair stick and apply touch-up paint.
3. Wrong Screw Length
Cause: Screws too short/long for panel.
Fix: Choose screw length = panel thickness + handle boss depth + 2 mm. Use washers or spacers if too long.
4. Loose Handles Over Time
Cause: Insufficient tightening or thread wear.
Fix: Apply a drop of thread-Lock adhesive, then re-tighten. Add spring washers if frequently used.
5. Off-Center Placement
Cause: Inaccurate marking.
Fix: Measure from both sides before drilling; fill old holes and re-drill after confirming center point.
6. Handle Surface Scratched
Cause: Drill or tool contact.
Fix: Cover handles during installation; use low-speed drivers; repair with polish or color-matched paint.
7. Mismatched Orientation
Cause: Random direction installation.
Fix: Plan layout before drilling; keep vertical for doors, horizontal for drawers; use tape guides.
8. Oversized Holes
Cause: Wrong bit size or slipping drill.
Fix: Insert nylon sleeves or bushings; avoid glue, which can crack later.
9. Uneven Gaps Between Handles
Cause: Measuring from different reference edges.
Fix: Measure from one consistent side; use laser level or long ruler for multiple units.
10. Tilted Handles
Cause: Uneven surface or tightening imbalance.
Fix: Tighten alternately, use soft washers to compensate for minor surface irregularities.
Maintenance and Care
Wipe handles monthly with mild soap water; dry immediately.
Avoid harsh chemicals, acids, or bleach cleaners.
Retighten all screws every 6–12 months in high-use areas.
For coastal regions, coat metal handles with anti-corrosion oil once a year.
Safety Tips
Wear protective goggles when drilling.
Keep electric cords away from sharp edges.
Drill slowly; let the bit cut naturally.
Work on a stable surface with proper lighting.
FAQs
1. What drill bit size fits cabinet handle screws?
Use 5 mm for M4 screws; 5.5 mm allows slight adjustment if needed.
2. What’s the best height for installing handles?
50–75 mm from the door edge is standard. Keep spacing uniform for visual balance.
3. Can I reuse existing knob holes?
Yes, if spacing matches. If not, fill the old hole with wood filler and re-drill.
4. How to align handles perfectly?
Use a jig or template for every unit and verify alignment with a level before tightening.
5. Why do handles loosen quickly?
Threads may wear or expand. Use thread-lock glue or replace with slightly longer screws.
Proper handle installation ensures a flawless, durable finish that reflects true craftsmanship. By following these professional steps, your cabinets will not only look elegant but also perform reliably for years.
Previous: How to Clean Furniture Hardware?
Next:

