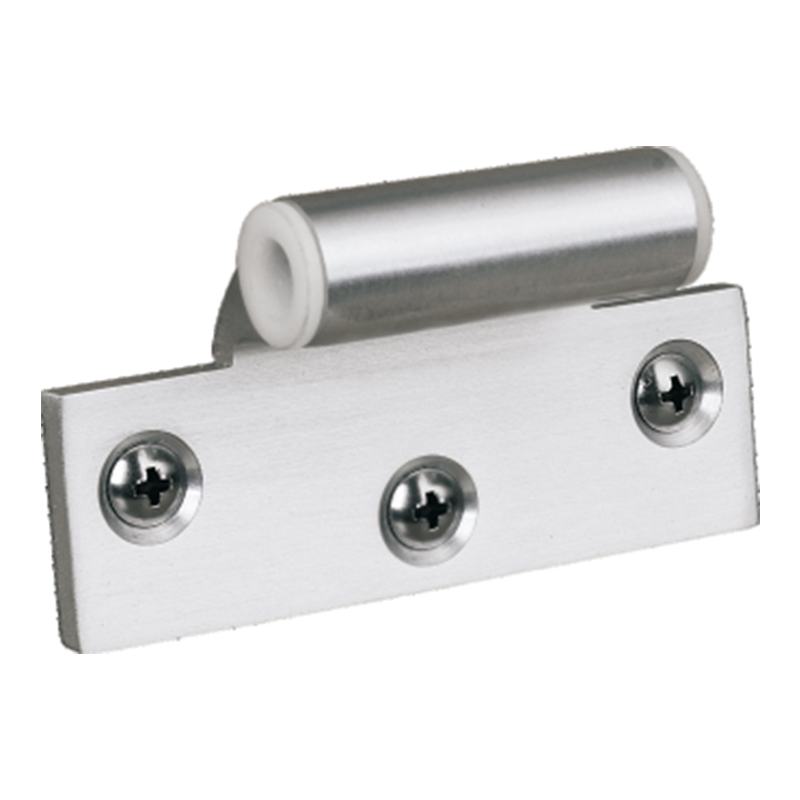
How To Adjust A Glass Shower Door Hinge?
Glass shower doors depend on precision hinge alignment to maintain smooth movement and watertight sealing. When the door sags, drags, or no longer closes evenly, careful adjustment—not excessive tightening—is the key to restoring perfect function. Our product range includes professional-grade Stainless Steel Shower Door Hinges such as pivot hinges, wall-to-glass hinges, and glass-to-glass hinges, each designed for durability and fine adjustment. The following guide explains how to adjust these types safely and effectively.

Table of Contents
Understanding the Hinge Types
Pivot Hinges
Pivot hinges support the door at the top and bottom, allowing rotation around a fixed axis. They are ideal for heavy frameless glass doors and create a minimalist appearance. Their vertical alignment must be exact—any deviation can cause scraping or misalignment.
Wall-to-Glass Hinges
These hinges connect the glass door directly to the wall or aluminum profile. They bear both the vertical load and closing pressure, and include adjustable clamping plates and gaskets to protect the glass. Small positional adjustments on the wall plate can correct door sag or uneven sealing.
Glass-to-Glass Hinges
Used when the door attaches to a fixed glass panel rather than a wall. Proper balance between both glass panels ensures smooth, centered closing. Over time, gasket compression or structural movement may slightly alter their angle, requiring fine readjustment.
Preparation and Safety Guidelines
Support the door first. Place rubber shims or wooden bLocks under the bottom edge to relieve hinge stress before loosening screws.
Work with assistance. Frameless glass doors are heavy and should always be stabilized by a second person.
Clean the surfaces. Remove water stains and soap film with neutral cleaner before adjusting; dirt can affect gasket grip.
Inspect gaskets and screws. Replace any hardened or cracked components before reassembly.
Avoid overtightening. Stainless hinges must hold firmly but without crushing the rubber gaskets.
Recommended tools: Allen keys, torque screwdriver, soft mallet, plastic pry tool, level, microfiber cloth, and isopropyl alcohol.
Adjusting Pivot Hinges
When to adjust:
Door rubs against the floor or threshold.
Top gap is wider than the bottom gap.
Door does not align with the frame or magnetic seal.
Adjustment method:
Support the door using shims until it’s level.
Loosen the pivot bolts slightly—usually one at the top and one at the bottom.
Shift the door vertically by adding or removing shims beneath the bottom hinge.
Correct the angle by adjusting the top hinge position forward or backward until gaps are even along the edge.
Tighten all screws evenly, using a torque driver to prevent uneven compression.
Test movement several times to confirm smooth operation without resistance.
If the door closes unevenly or doesn’t align with the seals, make fine rotational corrections at the top pivot bolt. Small adjustments—less than one turn—often solve alignment issues.
Adjusting Wall-to-Glass Hinges
Common problems:
Door sags slightly, causing uneven gaps.
The edge touches the jamb or fixed panel.
Water leaks appear near the hinge area.
Adjustment procedure:
Open the door 90 degrees and secure it with supports.
Loosen the hinge screws that attach to the wall plate. Do not remove them entirely.
Reposition the hinge leaf slightly up or down using the slotted adjustment holes (if present).
Check alignment with a level—door edges should remain vertical and parallel to the fixed panel.
Re-tighten gradually, alternating between screws to maintain uniform pressure.
Inspect gasket compression; it should be firm but not deformed.
For minor plumb corrections, adjust only the top hinge. For height or reveal corrections, both hinges may need repositioning. Always confirm that the door closes flush against the magnetic seal after adjustment.
Adjusting Glass-to-Glass Hinges
Indications for adjustment:
Gaps between the door and fixed glass are uneven.
Door does not rest centered or strikes the fixed panel.
How to adjust:
Stabilize both glass panels using suction cups or braces.
Loosen the connecting hinge screws slightly on the door side only.
Align the door so that the reveal between both glass panels is uniform.
Insert a thin nylon shim temporarily between hinge leaves to fine-tune the angle if needed.
Tighten evenly from top to bottom.
Test the door for smooth swing motion and confirm the magnetic seal contacts along the full height.
If the door feels tight at one end of travel, it may be over-rotated—reduce hinge tension or adjust back to a neutral axis.
Final Checks After Adjustment
Door opens and closes freely without resistance.
The reveal along all edges is consistent (typically 3–5 mm).
No scraping noise or visible glass contact with the threshold.
Seals fit snugly without deformation.
All screw caps and covers are reinstalled for a clean finish.
Perform a water test by spraying lightly around the hinge area; no dripping should occur. If minor leaks remain, tighten hinge screws slightly or reseat the seals.
Maintenance for Long-Term Stability
Reinspect hinge torque after one week of use—rubber gaskets may settle slightly.
Clean stainless steel regularly with a mild, non-chlorinated detergent and soft cloth.
Avoid abrasive pads or acids; they can damage the finish.
Replace gaskets immediately if they lose elasticity or show compression marks.
Keep hinge pivot points lightly lubricated with silicone spray (never oil-based).
Proper maintenance not only prevents leaks but also preserves the door’s balance and hinge integrity for years of service.
Conclusion
Adjusting a Glass Door Hinge is a precision task that requires patience and correct technique. By understanding the characteristics of pivot, wall-to-glass, and glass-to-glass hinges, you can make fine corrections safely without damaging the glass. Each small movement affects both alignment and sealing performance—so take gradual steps, recheck with every turn, and ensure even tightening.
With quality stainless steel hinges and proper maintenance, your shower enclosure will continue to deliver smooth operation, quiet closing, and long-lasting stability.
Previous: How Many Brackets for A Handrail?

